
== Warlord Priory Commander Sealed Temple [110]:
* Order of the Sealed Temple 3 [205]: Standard Bearer
* Order of the Sealed Temple 3 [205]: Standard Bearer
* Order of the Ashen Dawn 3 [265]: Standard Bearer
* Order of the Ashen Dawn 3 [250]:
== Warlord Imperial Officer [90]: Brace for Impact, On Your Feet
* Men at Arms 3 [105]:
* Mercenary Crossbowmen 3 [105]:
* Mercenary Crossbowmen 3 [105]:
* Mercenary Crossbowmen 3 [105]:
== Priory Commander Crimson Tower [160]: Olefant's Roar, Long Lineage
* Order of the Crimson Tower 4 [295]: Standard Bearer
In the first game of the tournament, I faced Jens Karacho, as I often do. By now, he’s a staple of the northern German tournament scene and one of the most active and successful players (NTR 6 on the day of the tournament). Over the past few months, both Jens and I have switched factions a bit, but so far, we’ve only ever faced off in duels between Hundred Kingdoms and Dweghom. And this time was no different. His list was led by a Sorcerer Warlord with fire magic, which brought back dark memories of tough battles in the past. Fortunately, Uziel had beaten me up with his Dweghom a few times in the days leading up to the tournament, so I was well-prepared and knew exactly what dangers lay ahead.
Dweghom [2000/2000]
== Ardent Kerawegh [125]: Memory of Breath, Focused
* Flame Berserkers (4) [235]: Standard Bearer
* Flame Berserkers (3) [180]: Standard Bearer
* Magmaforged (3) [200]:
* Magmaforged (3) [200]:
== (Warlord) Tempered Sorcerer [165]: Cthonic Flame, Fire School, Hellbringer Sorcerer
* Hellbringer Drake (1) [200]:
* Fireforged (3) [180]:
== Tempered Sorcerer [135]: Fire School, Hellbringer Sorcerer
* Hellbringer Drake (1) [200]:
* Fireforged (3) [180]:
The scenario we played was "Declined Flank," an interesting and tactically demanding mission. We agreed that the zones declared by the players as non-scoring would also not count as "seizing" zones. There are some conflicting interpretations of this in the international Discord, but Jens had understood it differently there, and I didn’t mind in the end. Playing with Jens is always very relaxed, as we communicate openly and amicably, which helps to avoid many potential issues during the game.
One thing particularly worth mentioning was the organization of the tournament, especially how the terrain and scenarios were set up. The tournament organizers had already arranged the terrain during the breaks, which is unusual for Lübeck. Normally, players are allowed to place the terrain on the field themselves, but the Lübeck team used many small pieces of terrain that the organizers cleverly arranged to make them feel more relevant and larger. This added more strategic depth and impact to the games. The hill and the mountain in our game, in particular, played a key role and fit perfectly with the thematic design of the game mat. Such details always contribute to the atmosphere, and I think it’s great when organizers put in so much effort.

Jens deployed both of his Berserkers in the first round, while I brought in two units of Crossbows. Jens positioned his Berserkers on the flanks, whereas I placed my Crossbows in the center.
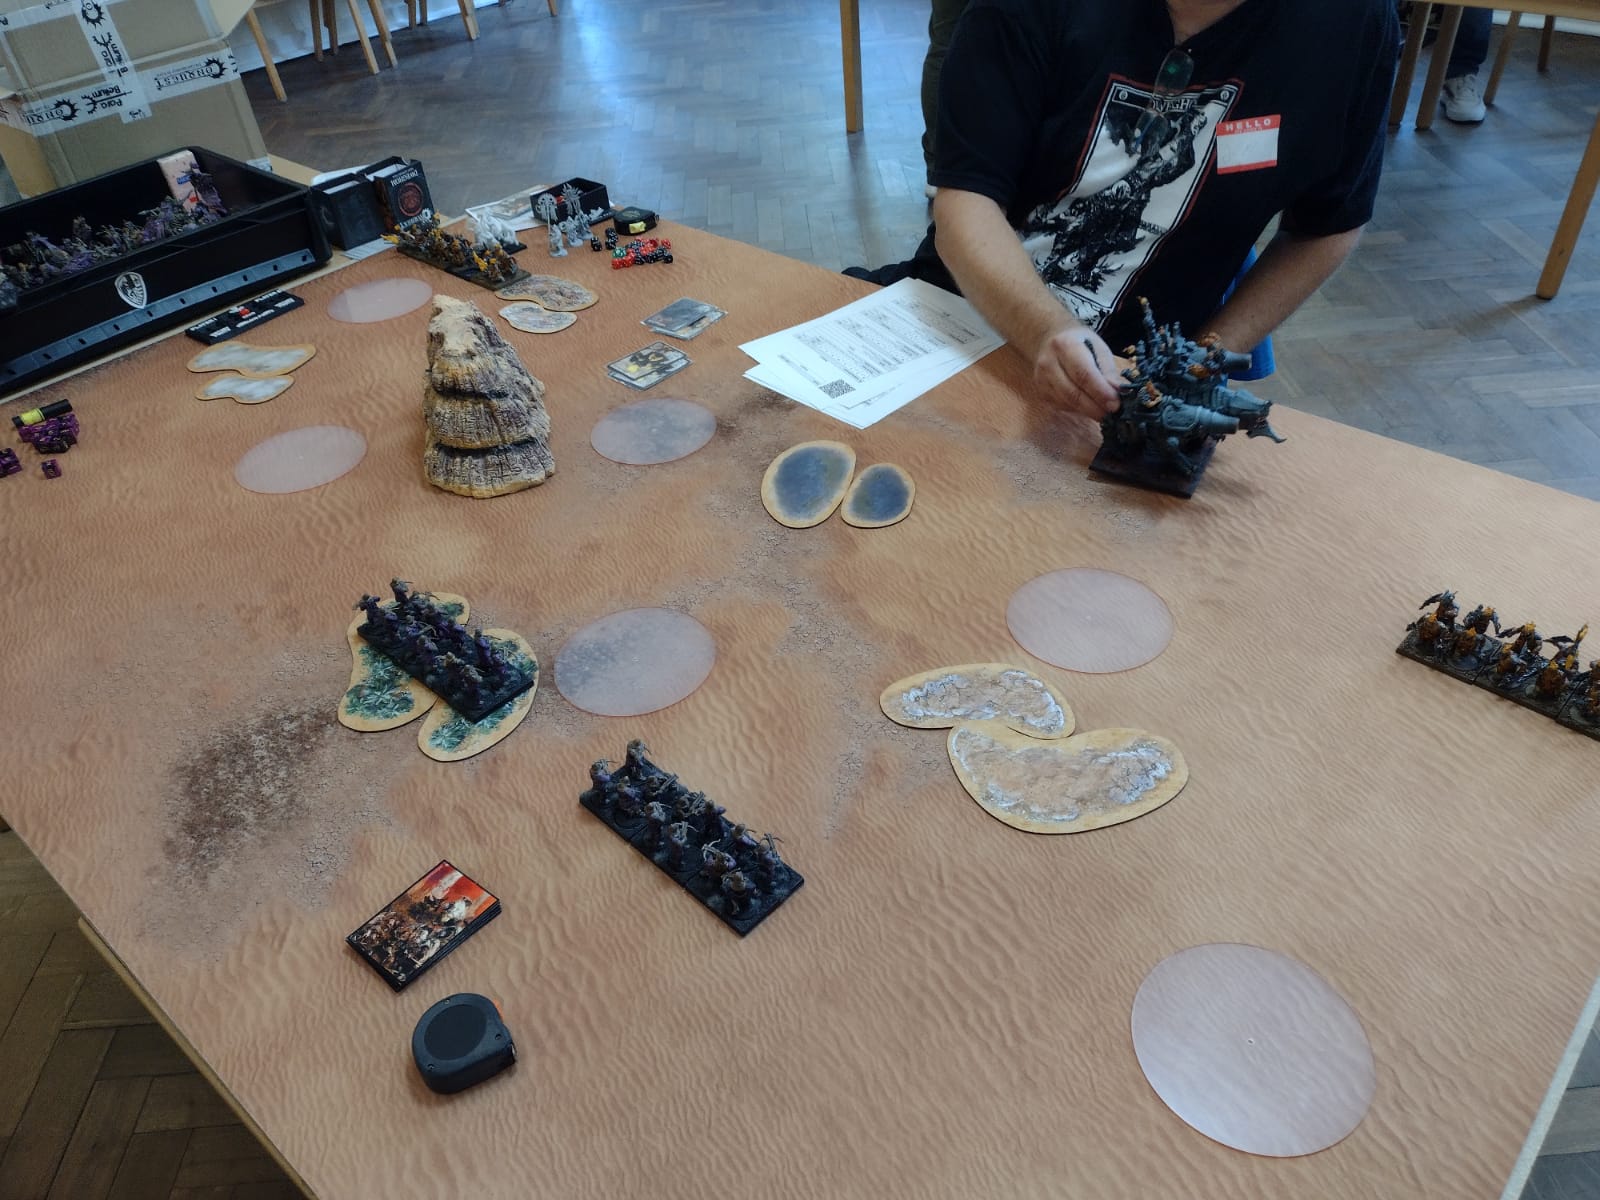
In the second round, Jens only received his Hellbringer Drake along with the Warlord, while I brought in both Sealed Temple units, my remaining Crossbows, and the Men-at-Arms. This was a significant setback for Jens' Dweghom on the "Declined Flank" scenario. I chose the left zone on his side as non-scoring, and he did the same on my side. Thanks to my card advantage and having two characters, I didn't need to move anything significant until the Berserkers were dealt with. The Drake advanced on the right flank, but my Sealed Temple positioned themselves smartly to face him. Before that, I moved my Men-at-Arms into a zone and used my Crossbows to eliminate one Berserker stand on the right side. The Sealed Temple also secured the right zone. With a solid 4:0 lead and a strong position, I was feeling optimistic about the next round.
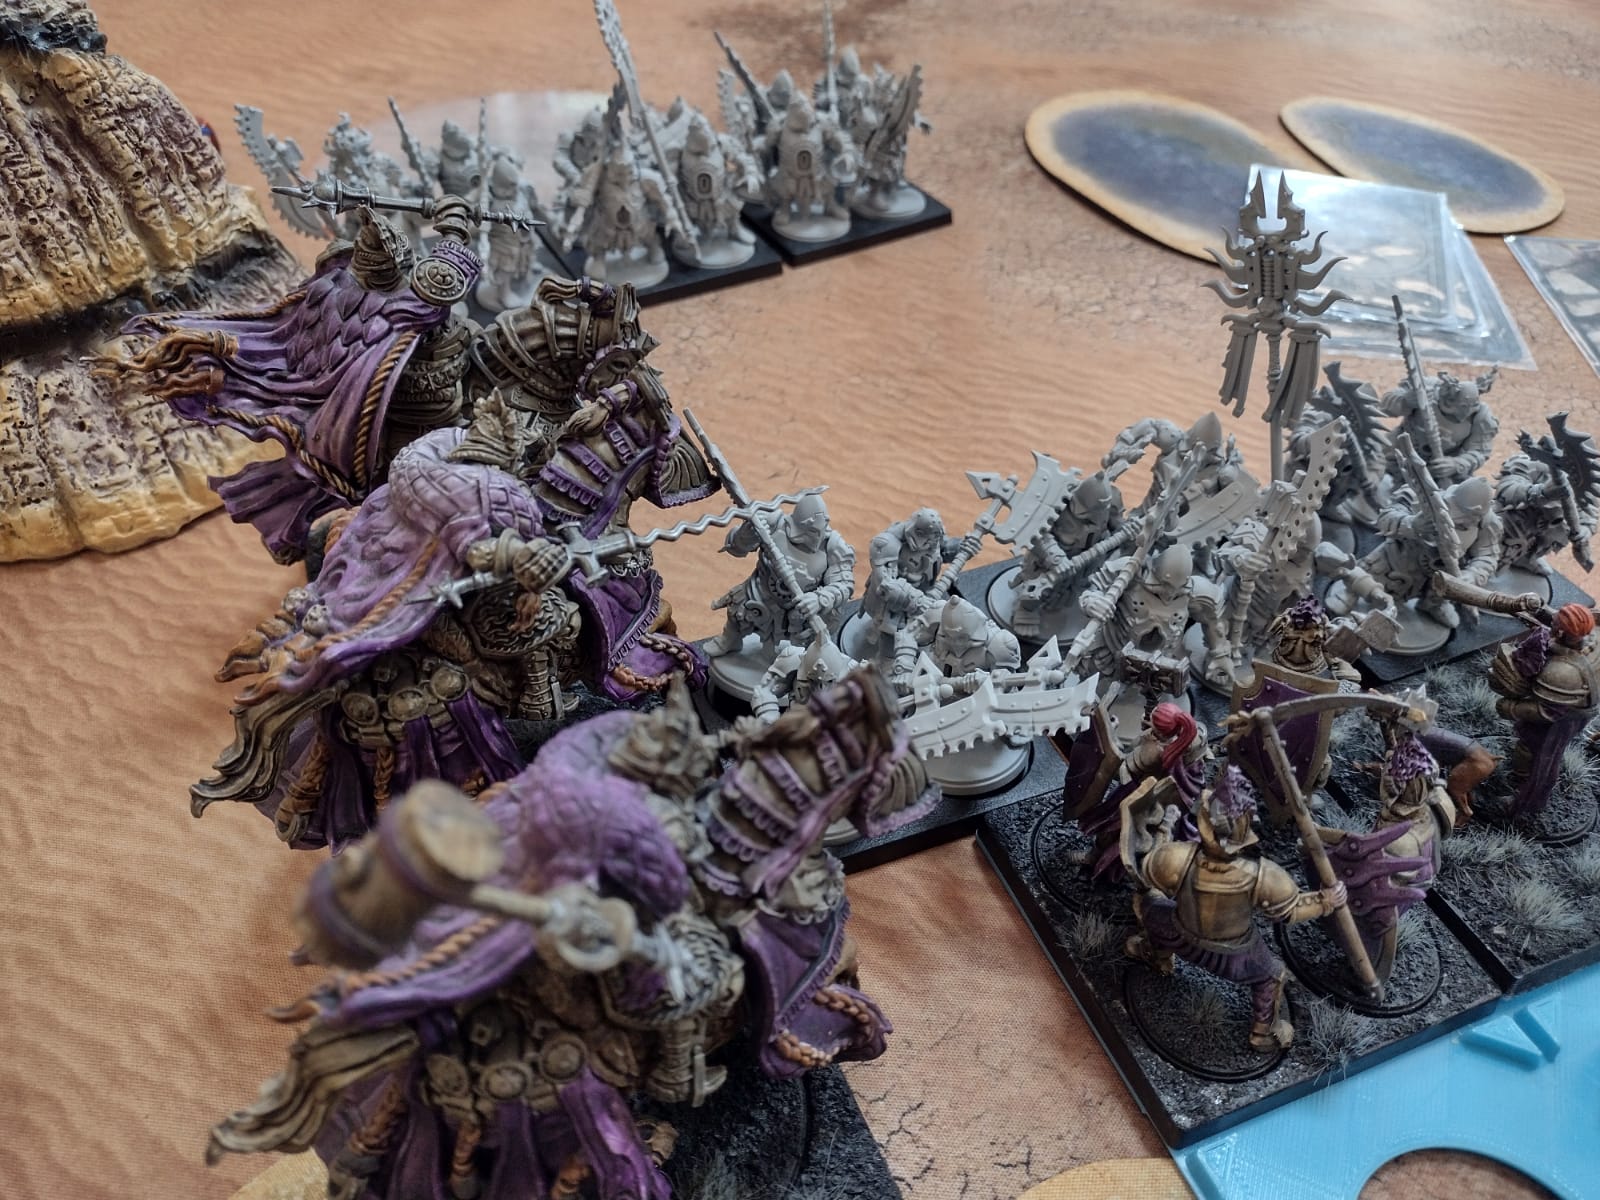
In the third round, I received the Crimson Tower and one Ashen Dawn unit, while Jens got everything except his second Magmaforged. As in the previous round, I again chose the left zone on his side as non-scoring, meaning that only his Drake could score this round. It was too tempting not to go for the first kill, so I pushed the Sealed Temple and two Crossbows forward, followed by the characters, the last Crossbows, and the heavy cavalry. Fortunately, I was able to go first and immediately drew Supremacy. The distance between the Drake and my Sealed Temple was 17 inches, which meant an automatic charge for the Sealed Temple. They only managed 17 impacts, but with Blessed, and the Dweghom only had two tokens. As expected, the Drake barely survived, but the Crossbows were ready to finish him off.

Before that, Jens' Warlord was able to cast a devastating spell on my cavalry, but it failed due to their armor. Just like my Sealed Temple, the Drake stubbornly withstood the shooting from both Crossbow units, so we agreed to activate other units first. Jens’ Berserkers advanced slightly on the left side, followed by his Fireforged, while I positioned my Ashen Dawn and Crimson Tower to face them. In the center, another Drake with a mage and Fireforged marched into shooting range of my Sealed Temple and barely managed to wipe them out. However, with the Warlord on the Hellbringer Drake having lost his steadfastness, he fell to the final bolt from my Crossbows. So, we essentially traded Warlords – a deal I was more than happy with.
On the right, the Berserkers tried to take down my Sealed Temple, but thanks to Blessed, they held their ground and killed one Berserker stand. The Magmaforged began marching towards the center, but that would only become a problem in the later rounds. The score was 8:0.
.jpeg)

In the fourth round, we received our remaining units. I was satisfied with my lead and planned to maintain it by using my Crimson Tower on the left for a breakthrough. Since I wasn’t in a rush, I positioned the heavy cavalry down in the deck and moved my Sealed Temple and the rest of the right flank to the top. Jens went for a risky charge clash with his Berserkers against my Ashen Dawn, and while he succeeded, Blessed prevented any significant damage. On the other side, I eliminated his Berserkers and got my troops into position. However, Jens managed to control two zones, and due to his Ardent, my Ashen Dawn didn’t score. My lead began to slip, which wasn’t part of my plan. But I still had the Crimson Tower. I aimed to catch the Fireforged on the left flank, who had moved into the zone. I opted for a Crimson Tower charge on a four or five, but even with a reroll, it didn’t work out. That was a greedy move – I could have simply eliminated the Berserkers, but now my Ashen Dawn had to step in, and they failed as well. With 20 health and armor 5, the opponent was tougher than expected. Still, I held onto my lead. The second Magmaforged and my second Ashen Dawn finally faced off in the center, glaring at each other grimly. The score was 12:4.
Jens started the round and used his Ardent's abilities to once again prevent my Ashen Dawn from scoring. This forced me to remain passive on the right flank. His Berserkers then almost took down one of my riders, but finally, the moment I had been waiting for arrived: my Ashen Dawn were ready to strike. With a determined blow, they finally slew the Berserkers that had been harassing me for rounds. However, the cost of this success was high. To secure control of the zone, I had to move a second Ashen Dawn unit into it. I immediately recognized the danger of this decision: Jens' Magmaforged would now be able to attack my Men-at-Arms without much resistance. It was a risky move, but I had to trust that my Men-at-Arms would activate before them to retreat before being wiped out.

.jpeg)

In the final round, Jens was fortunate enough to go first again. His Magmaforged left their zone to assist their comrades, but my Ashen Dawn held firm. They then wiped out the last stand of Magmaforged, dashing the Dweghom's hopes of scoring. Jens could no longer catch up, and although we continued the game to the end, the winner was clear: I triumphed with a final score of 32:20.
Conclusion
Looking back, I can say that I played too greedily at crucial moments, almost throwing the game away despite having a secure win. There were two clear opportunities where I should have sealed the deal, but instead, I made overly risky decisions. The result was correspondingly unsatisfying—the missed opportunities nearly cost me the victory. But for the nect Game, i get a secoend chance against Dweghom. Link to Game 2
Keine Kommentare:
Kommentar veröffentlichen