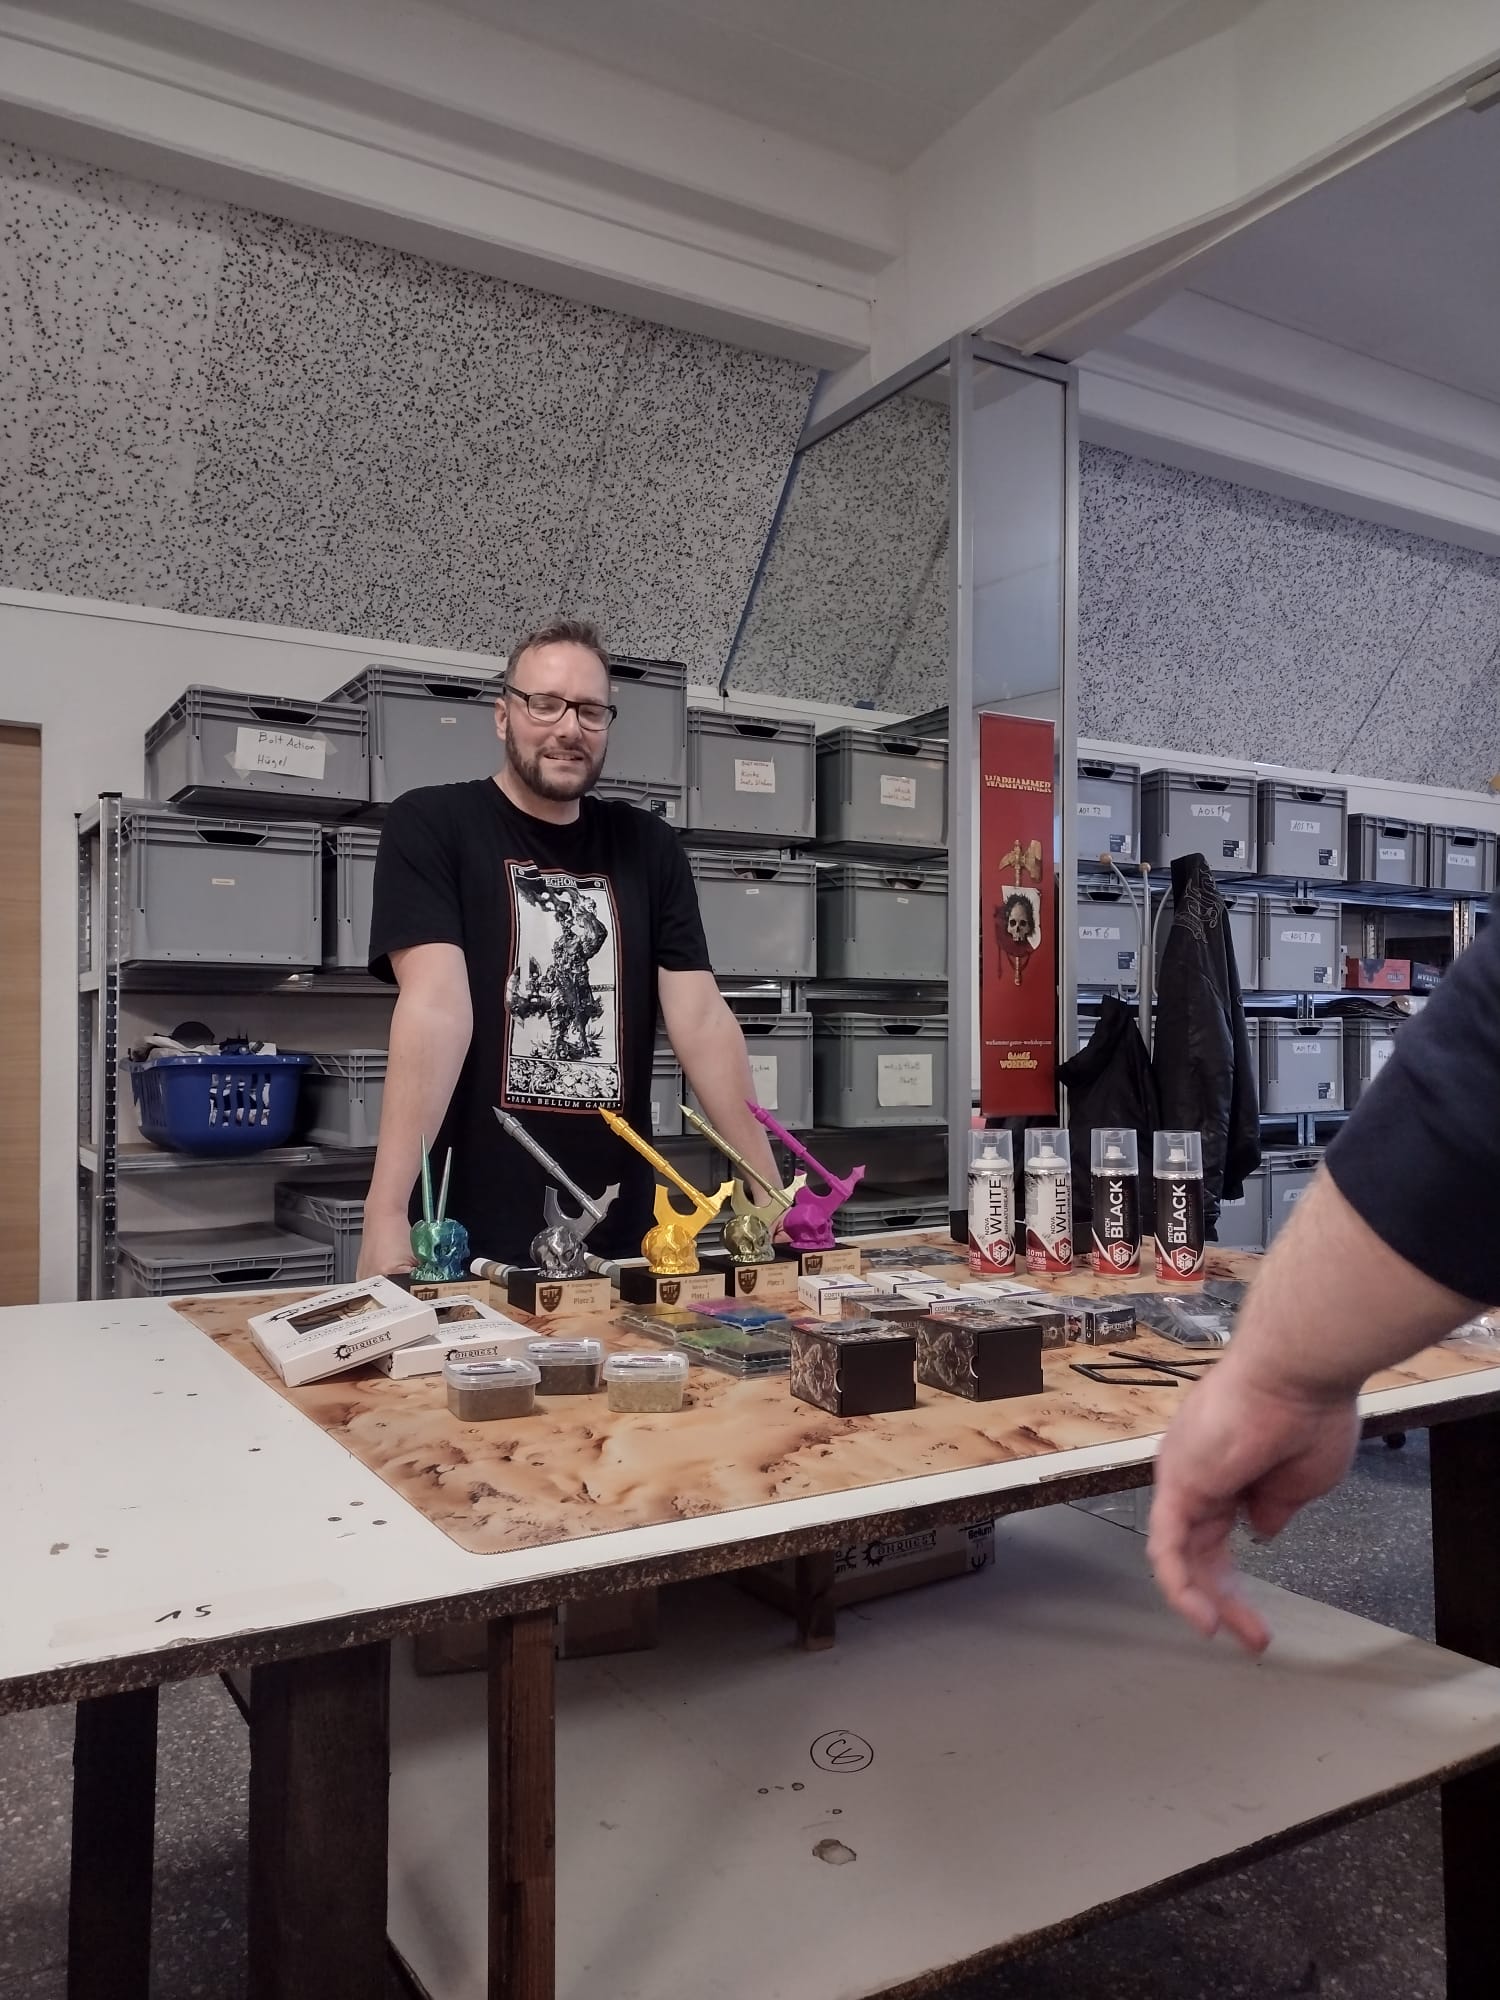
On the last weekend of May, it was time again: Marco had invited everyone to the tournament in Bedburg. His events are among the best organized and most beautiful in all of Germany, a guarantee for exciting games, good vibes and excellent overall conditions. Unfortunately, the flu wave had hit here as well, so some players had to cancel at short notice. But 14 brave strategists still showed up, and thanks to Marco's usual outstanding organization, including plenty of space and free cake, the mood remained high. Because where there is cake, there is hope.
After having only 2D terrain at tournaments in recent weeks, it was a welcome change that Bedburg also featured stylish 3D terrain. This not only made for an enjoyable gaming experience, but also created visually impressive scenes on the boards.
Given the strong field of participants, it was important to bring a powerful army. Although I had been testing the Church intensively over the past few weeks, I once again chose the W'adrhŭn. Since France I've been well practiced with them, and I didn't want to leave anything to chance against the Spire double marksman lists. If the opponent doesn't make any mistakes, the Church struggles here – not to mention the ultra-aggressive Nords, who will crush me in round four if I don't roll absurdly well.
== (Warlord) Chieftain [130]: Conquest, Vision
- Veterans (3) [170]
- Veterans (3) [170]
- Slingers (3) [150]
== Predator [100]: War
- Braves (3) [130]
- Hunting Pack (3) [120]
- Apex Predator (1) [190]
- Slingers (3) [150]
== Predator [100]: War
- Braves (3) [130]
- Hunting Pack (3) [120]
- Apex Predator (1) [190]
- Slingers (3) [150]
With this list in hand, it was time for the first round. My preferred opponent: Fin from the Netherlands. At the tournament in Bielefeld, he had beaten Uziel, who was playing a Dweghom experiment, and remained undefeated after two games. Since he had hurt my favorite person, he became my ideal opponent, but unfortunately he was paired down, so our game didn’t happen back then. In Bedburg, the opportunity finally presented itself, and this time he brought a Directorate list instead of Leonines.
Game 1 vs Fin Hendriks
== (Warlord) Biomancer [140]: Master of Flesh* Desolation Drones (3) [150]:
* Force-Grown Drones (4) [120]:
* Siegebreaker Behemoth (1) [210]:
== High Clone Executor [120]: Marksman Variant, Suppress Pain, Disperse
* Marksman Clones (4) [200]:
* Vanguard Clones (3) [165]: Standard Bearer
* Vanguard Clones (3) [165]: Standard Bearer
== Pheromancer [120]: Avatar Projection, Attracting Pheromones
* Abomination (1) [150]:
* Brute Drones (4) [220]:
* Stryx (3) [120]:
* Stryx (3) [120]:
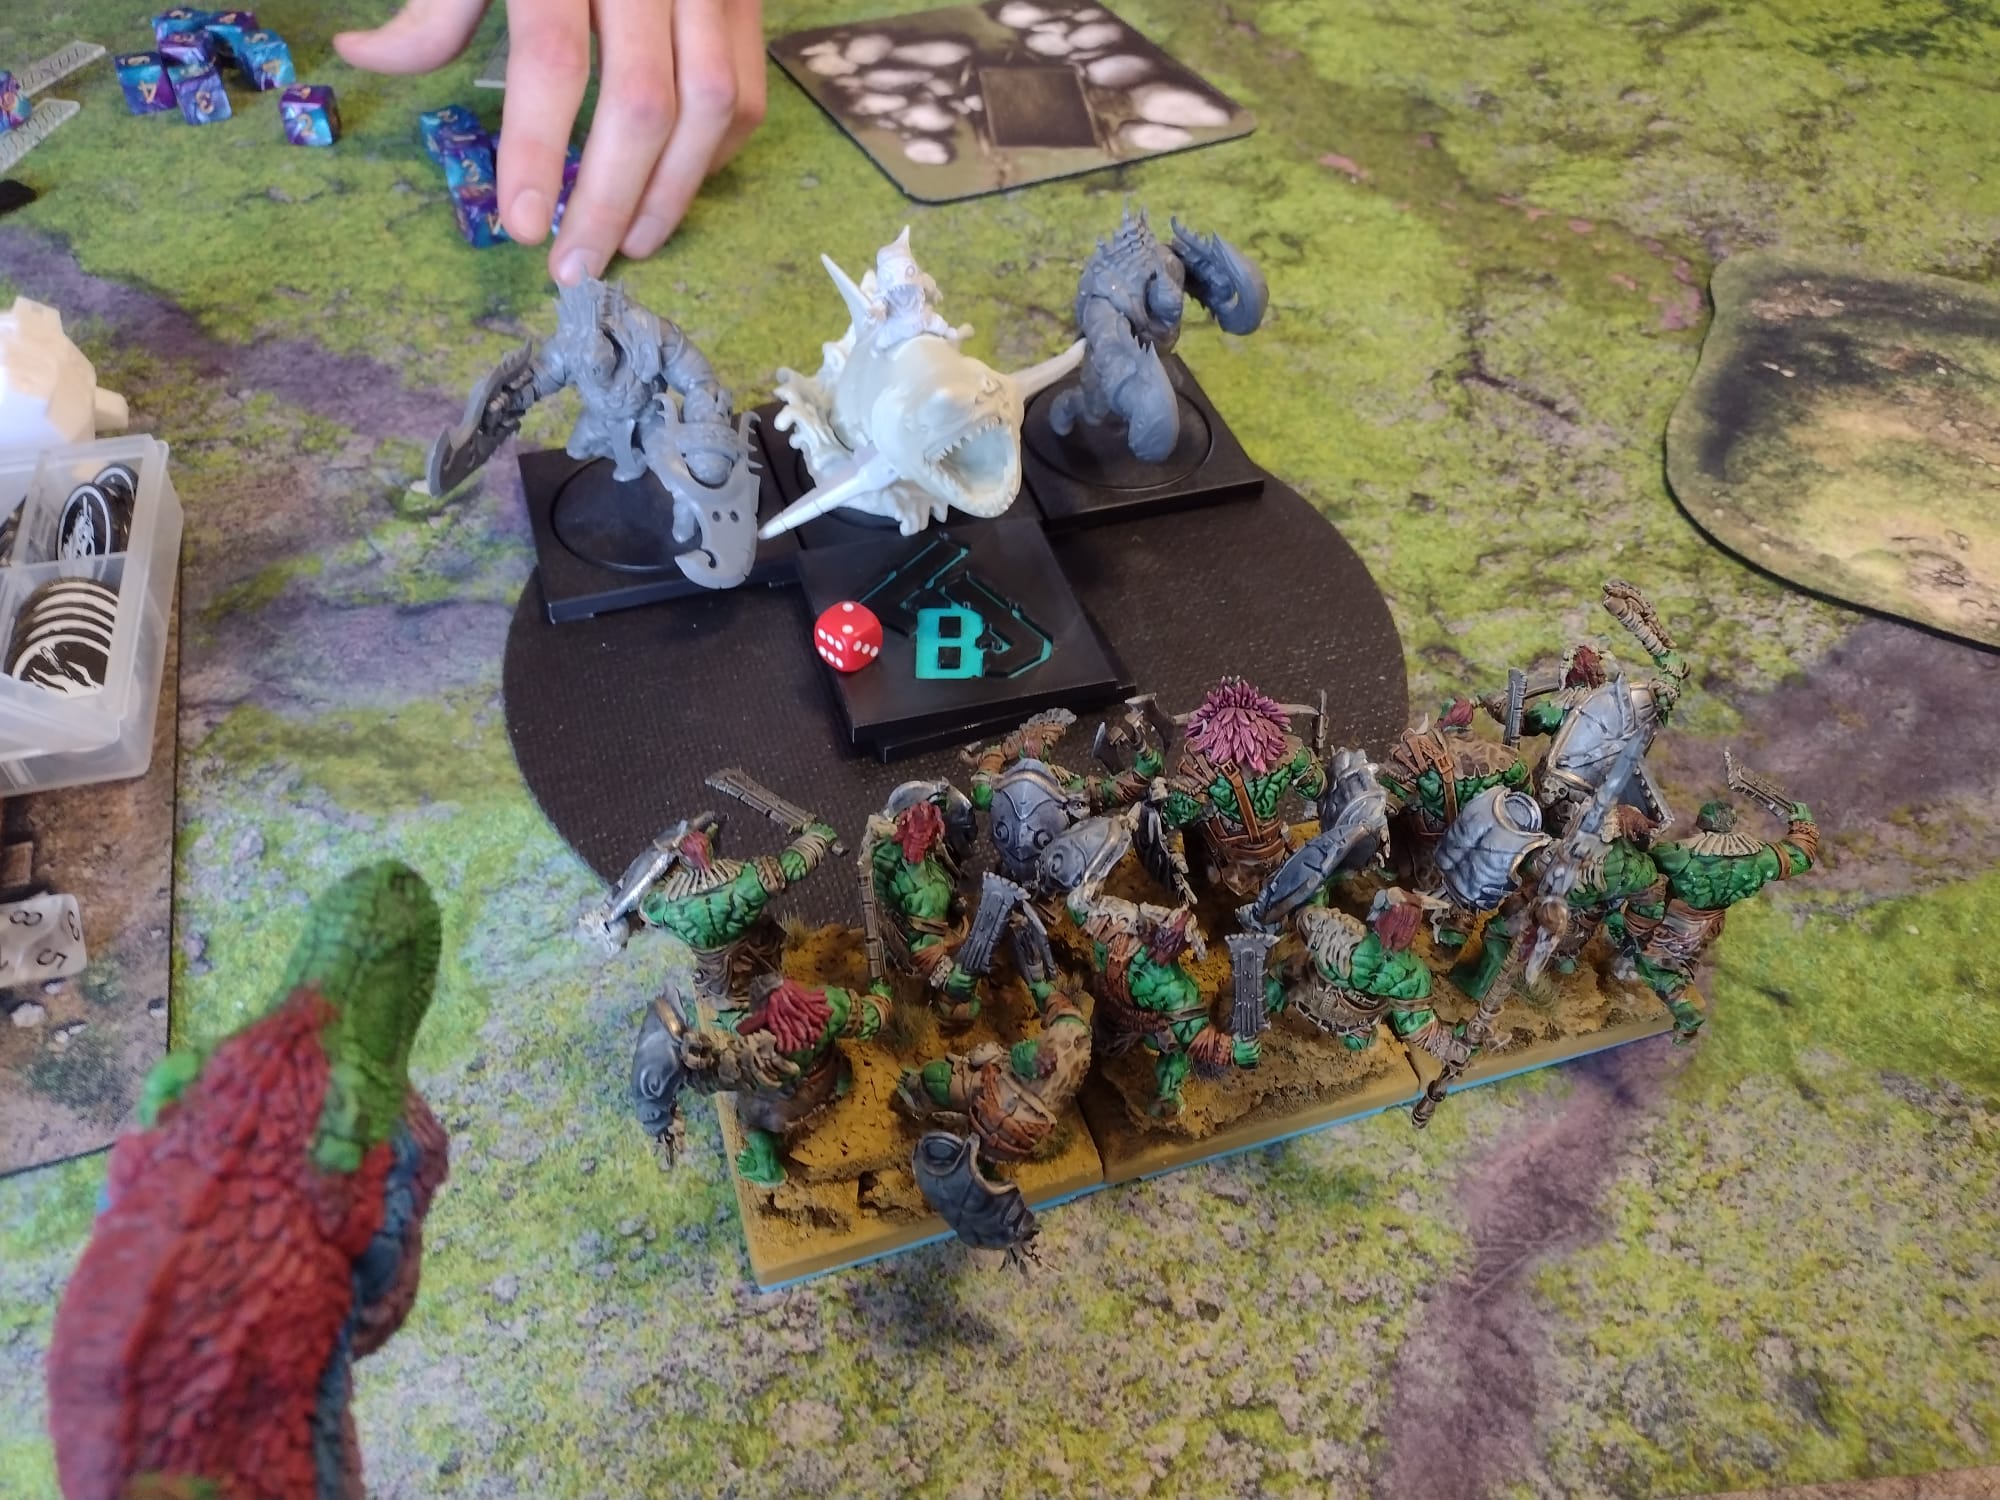
We played the "Head to Head" scenario with beautiful terrain that perfectly matched my W'adrhŭn. Our reinforcements arrived fairly solid in the early rounds, with only one Stryx on his side. He placed his first Stryx unit behind a mountain in the center. Since I'm greedy, I placed my Slingers to the left and right of it. The Hunting Packs were supposed to secure the left flank with the large zone, so my Braves could move in there from round 3. Fin decided to place his Warlord with the Force-Grown Drones on the right side as well.

In the middle of the second turn, he gave his Stryx Burnout to attempt an absurd charge on a 5+. That’s when I realized how rarely I play against Spires and how I had completely forgotten about this. Of course, the charge on my Slingers in the small zone succeeded. While they weren’t killed immediately, I had also forgotten about Catalytic Rupture. So, in round two, we traded my Predator and Slingers for his Stryx, and I cursed my own inability. I should have seen it and prevented it.
Then he brought in the Marksman and Brute Drones in the center, while my Veterans and Braves spread across the board. Fin played very carefully and placed his important activations wisely at the end of his deck. But there wasn’t much on the left flank, so my Braves could march into the zone unchallenged in round 3. Although the Desolation Drones and Vanguard Clones moved in, my last activations brought the Hunting Packs into favorable flank positions. One of the charges failed, but it was an auto-charge for the next round.
On the other flank, the Siegebreaker appeared, and I placed an Apex opposite it. I had a slight lead, and in round 4, our final reinforcements arrived. More importantly, I went first and immediately took out a regiment of Vanguard Clones. After that, we both held back, with a large distance between my army and his units. I respected the Marksmen, and he, in turn, respected the Slingers. Meanwhile, my Slingers slowly snaked around the mountain, possibly to target the Marksmen in the next round.

My Hunting Packs had already taken damage from the Desolation Drones, but I positioned them so that the Brute Drones couldn’t charge without a reform or move. All of my regiments survived the round. In the next round, my Veterans flanked the Brute Drones, and together with the Hunting Packs, we traded one Hunting Pack for the Pheromancer and the Brute Drones.
The large zone remained uncontested as the green wave marched forward relentlessly, now with Apex support. The second Apex on the other flank decided to use a Move Charge into the Force-Grown Drones since the Siegebreaker couldn’t see him there. Unfortunately, I had to roll five sixes against the Deadly effect of the Desolation Drones and Marksmen, which ruined my plan. But on the left flank, the Apex ate the Abomination before its inevitable end, and my second Braves took out the Desolation Drones. The trade was okay, and on the right flank, I just needed to protect my zone to win the game.

At this point, the game was essentially decided, as Fin had to hold the small zone and kill the rest of my army to win. But we still played on until round 10 and fought each other pretty hard.

Game 2 vs Lukas "Tyreor" Wolf
== (Warlord) Tempered Sorcerer [135]: Fire School, Hellbringer Sorcerer* Fireforged (3) [180]:
* Fireforged (3) [180]:
* Inferno Automata (3) [180]:
* Hellbringer Drake (1) [200]:
== Hold Raegh [100]:
* Initiates (3) [155]: Standard Bearer
* Initiates (3) [155]: Standard Bearer
* Dragonslayers (3) [240]: Standard Bearer
* Ironclad Drake (1) [220]:
== Ardent Kerawegh [90]:
* Flame Berserkers (3) [160]:
We played the "Melee" scenario, which is always a bit challenging against a token fortress. However, Lukas' list wasn’t what we typically see from Northern Germany or France, which I found quite exciting since I enjoy seeing new tactics and concepts.
In round 1, my setup was again my tried and tested one: double Slingers and double Hunting Packs, while Lukas started with Berserkers and Automata. These pushed quite far on the right flank at the beginning, but I decided to place one Slinger and one Hunting Pack on both the left and right flanks, anticipating a possible bait.
In round 2, my reinforcements arrived perfectly, while Lukas only got his automatic selection, which was really problematic for Dweghom. Nevertheless, Lukas decided to march aggressively forward and used the forest as cover to score one of the large zones. However, the price was high: half of his Berserkers and Automata fell, making it hard for him to keep up. But at least he scored one zone, while I only scored one zone as well.

In round 3, Lukas received almost all of his relevant reinforcements, but I got mine as well. The only thing missing for me was an Apex. I got to go first and took out the Berserkers and Automata early. This gave me almost twice as many cards as he had, and on the right flank, I deliberately held my position to avoid unnecessary risks. Lukas then decided to almost completely ignore the right flank, as he considered the way his troops were split against my green wave to be suboptimal. Instead, he built a massive shield wall of Initiates on the left, behind which the majority of his army hid.
This gave me points, but a frontal breakthrough wasn’t an option. So, I decided to push the rest of my army to the left flank and just hold him back long enough that he couldn't mathematically win anymore. Since he essentially gave me a large zone (24 points) on the right flank, I considered this a valid option. I just had to make sure not to burn through my troops too quickly.

So, I continued securing three zones and sent an Apex into Lukas' small zone, as I assumed the Fireforged would be dealt with by Slingers and a Hunting Pack in one or two rounds.
Round 4 was mostly positional play. Lukas marched through the forest and let the Slinger fire bounce off the Initiates. In the end, he moved the Drakes forward, while I pushed my first regiments forward: Braves into the Initiates, hoping they would block the Ironclad and Dragonslayers' line of sight. In the center, I held back to avoid offering any targets to the Fire Mage Warlord.

By now, I had three zones, Lukas had one, and neither of us had suffered any major losses.
In round 5, I initially failed to eliminate the Fireforged on the right flank, and things didn’t go as planned on the left flank either. I couldn’t really get to the Hellbringer, and he couldn’t get to my Slingers either. All units were shooting at something, but with little effect. Eventually, I sent an Apex into the second Initiates to continue holding back his army there. I kept scoring and significantly increased my lead.
In round 6, I was happy when I finally destroyed the Fireforged on the right flank, captured the small zone as planned with the Apex, and also made my charge into the second Fireforged in the center. But then, the left flank just spiraled out of control: His Initiates fell back, dying bravely in the process, and the Ironclad and Dragonslayers took out both an Apex and the Braves.

Impressed by my loss, Lukas decided to throw his Hellbringer forward to devour the first Slingers while also using tokens and good defense rolls to block the fire from the other units. That was actually part of my plan, but for rounds seven and eight. At least only a few of the Dragonslayers’ standards made it into the zone, which kept it contested, and I was able to secure three zones again.

In round 7, the Dragonslayers and the two Dragons continued their offensive, wiping out the Slingers and a Hunting Pack, and even managed to charge into my small zone. This gave Lukas two zones suddenly. I didn’t like that, so the last Slingers on the right flank turned around and shot enough standards to make that zone contested as well, allowing me to win the game since Lukas couldn’t mathematically catch up anymore.
Still, we played on until round 10, and my last Apex managed to get to the Hellbringer, killed him, and then died itself in the Die Fighting phase.
Game 3 vs Nicki aka Hickmix
== (Warlord) Pheromancer [120]: Avatar Projection, Attracting Pheromones
* Stryx (3) [120]:
* Onslaught Drones (3) [120]:
* Brute Drones (5) [270]:
* Brute Drones (3) [170]:
== Biomancer [140]: Master of Flesh
* Desolation Drones (3) [150]:
* Siegebreaker Behemoth (1) [210]:
== High Clone Executor [130]: Marksman Variant, Suppress Pain, Disperse, Eagle Eye
* Vanguard Clones (3) [150]:
* Force-Grown Drones (3) [110]: Catabolic Node
* Marksman Clones (3) [160]: Standard Bearer
* Marksman Clones (3) [150]:
After two rounds, Uziel, Nino, and Nick are undefeated. No one wants to play against me, and except for Nino, I haven't had the other two as opponents in tournaments for quite some time. Luck of the draw hits Nick, who cheers himself up by having a beer and some cake.
The scenario was Bulwark, and I was fairly sure I would take the middle objective. Nick was aware of this too, and when he only got the Force-Grown Drones in round 1, he didn’t even try to suggest anything else. He stayed very, very far from me. I spread out with double Slingers and double Hunting Packs.
In round 2 and round 3, all reinforcements arrived. I took the middle objective and planned to grab the right objective in his zone as well. However, since I had delayed it, Nick threw the Brute Drones block with a Move Charge halfway across the table into my Slingers. This prevented me from scoring the right zone, and Nick hoped to keep me busy long enough for the rest of his army to catch up, planning to win the game with "stamina."
In the meantime, I had already killed the Stryx and the Force-Grown Drones without any losses of my own. He needed this "break" because he anticipated losing the flanks in the next round.
His Marksmen were well distributed on both flanks, with the High Clone on the right flank. I decided to bring my Braves and a Stand of Hunting Packs as close to the flanks as possible to prevent the Marksmen from shooting at my Slingers in the next round. On the other side, his second Brute Drones were working well, so I placed both Apexes on that side to make sure I wouldn’t get a Siegebreaker into the center. There was a large pond there, and I hoped to somehow lure the Siegebreaker into it later.

In round 4, Nick started activating his Marksmen, but they only shot down one stand of my Braves. I was then able to focus on the large Brute Drones block and finally kill it. This cost significantly more resources than I had expected, and unfortunately, my Slingers died beforehand. But in the end, the Veterans with Chiefthain managed to finish off the last hit points of the block, and my second Braves ran into the zone.
The objective in his zone was taken out of play by one of the surviving Slinger units, after Nick shook his head in disbelief that the effective range of the Slingers was 18". The important thing was that the Veterans and Braves were now well-positioned, and I already had a card advantage. His Siegebreaker, who had to make a Move Charge with a Stand of Hunting Packs, hadn’t reached anything else or simply didn’t want to go into the water.
On the other side, I only managed to eliminate the Brute Drones after they had already destroyed the objective, partly because I didn’t dare to send the second Apex in. Had I done that, the Vanguard Clones might have become dangerous with their shooting in the next round.
In round 5, things really escalated. I got to start with my Braves, who charged into the Siegebreaker’s flank with War and beat him down to just a handful of hit points. While Nick had been reserved throughout the game and hardly made any comments, his Siegebreaker, which had let him down in the past three tournaments, was thoroughly scolded. Intimidated by this, the High Clone with the Marksmen also failed in close combat against the second, half-dead Braves and did nothing.

So, I got free Marksmen and the Siegebreaker for nothing. There was no way I wouldn’t be able to hold both zones again, and Nick eventually decided to give up and have another beer.
At the end of the tournament, Nino narrowly defeated Uziel, securing him a well-deserved first place. Due to the Strength of Schedule (SoS), I unfortunately only managed second place, but that couldn't dampen my joy over the excellent performance of our club. After all, first, second, and third place went to us, something that hadn’t happened in a long time.
Keine Kommentare:
Kommentar veröffentlichen