For the sake of clarity, here's my list again so you don't have to flip through:
The Hundred Kingdoms [1500/1500]
== (Warlord) Priory Commander (Sealed Temple) [110]:
* Order of the Sealed Temple (3) [185]: Standard Bearer <-- CP
* Order of the Sealed Temple (3) [185]: Standard Bearer
* Order of the Ashen Dawn (3) [255]: Standard Bearer
* Order of the Ashen Dawn (3) [255]: Standard Bearer
== (Warlord) Imperial Officer [75]: On Your Feet, Fire First, Aim Later
* Mercenary Crossbowmen (3) [105]:
* Mercenary Crossbowmen (3) [105]: <-- IO
* Mercenary Crossbowmen (3) [105]:
* Imperial Ranger Corps (3) [120]:
Except for Nick, all Old Dominion players won in Round 1, so I mentally prepared for Old Dominion Off Balance. Instead, I got paired with Nick's opponent Jens playing Dweghom:
Dweghom [1495/1500]
== Hold Raegh [90]:
* Hold Ballistae (3) [140]:
* Hold Ballistae (3) [140]:
* Dragonslayers (3) [240]: Standard Bearer
* Dragonslayers (3) [220]:
== (Warlord) Tempered Sorcerer [125]: Hellbringer Sorcerer, Magma
* Hellbringer Drake (1) [180]: * Fireforged (3) [180]:
* Fireforged (3) [180]:

Not yet done with painting, but I liked the Dragonslayers. The list had enough firepower to turn my army into ashes, and two units of Dragonslayers for the rest. Unpleasant – winning attrition wouldn't be easy. So, I had to accumulate points and strategically sacrifice my army to hinder him from scoring for as long as possible. It's doable but not easy, especially considering the middle would likely turn into a magma pool. If that happened, the sorcerer would be in the center and quite forward.
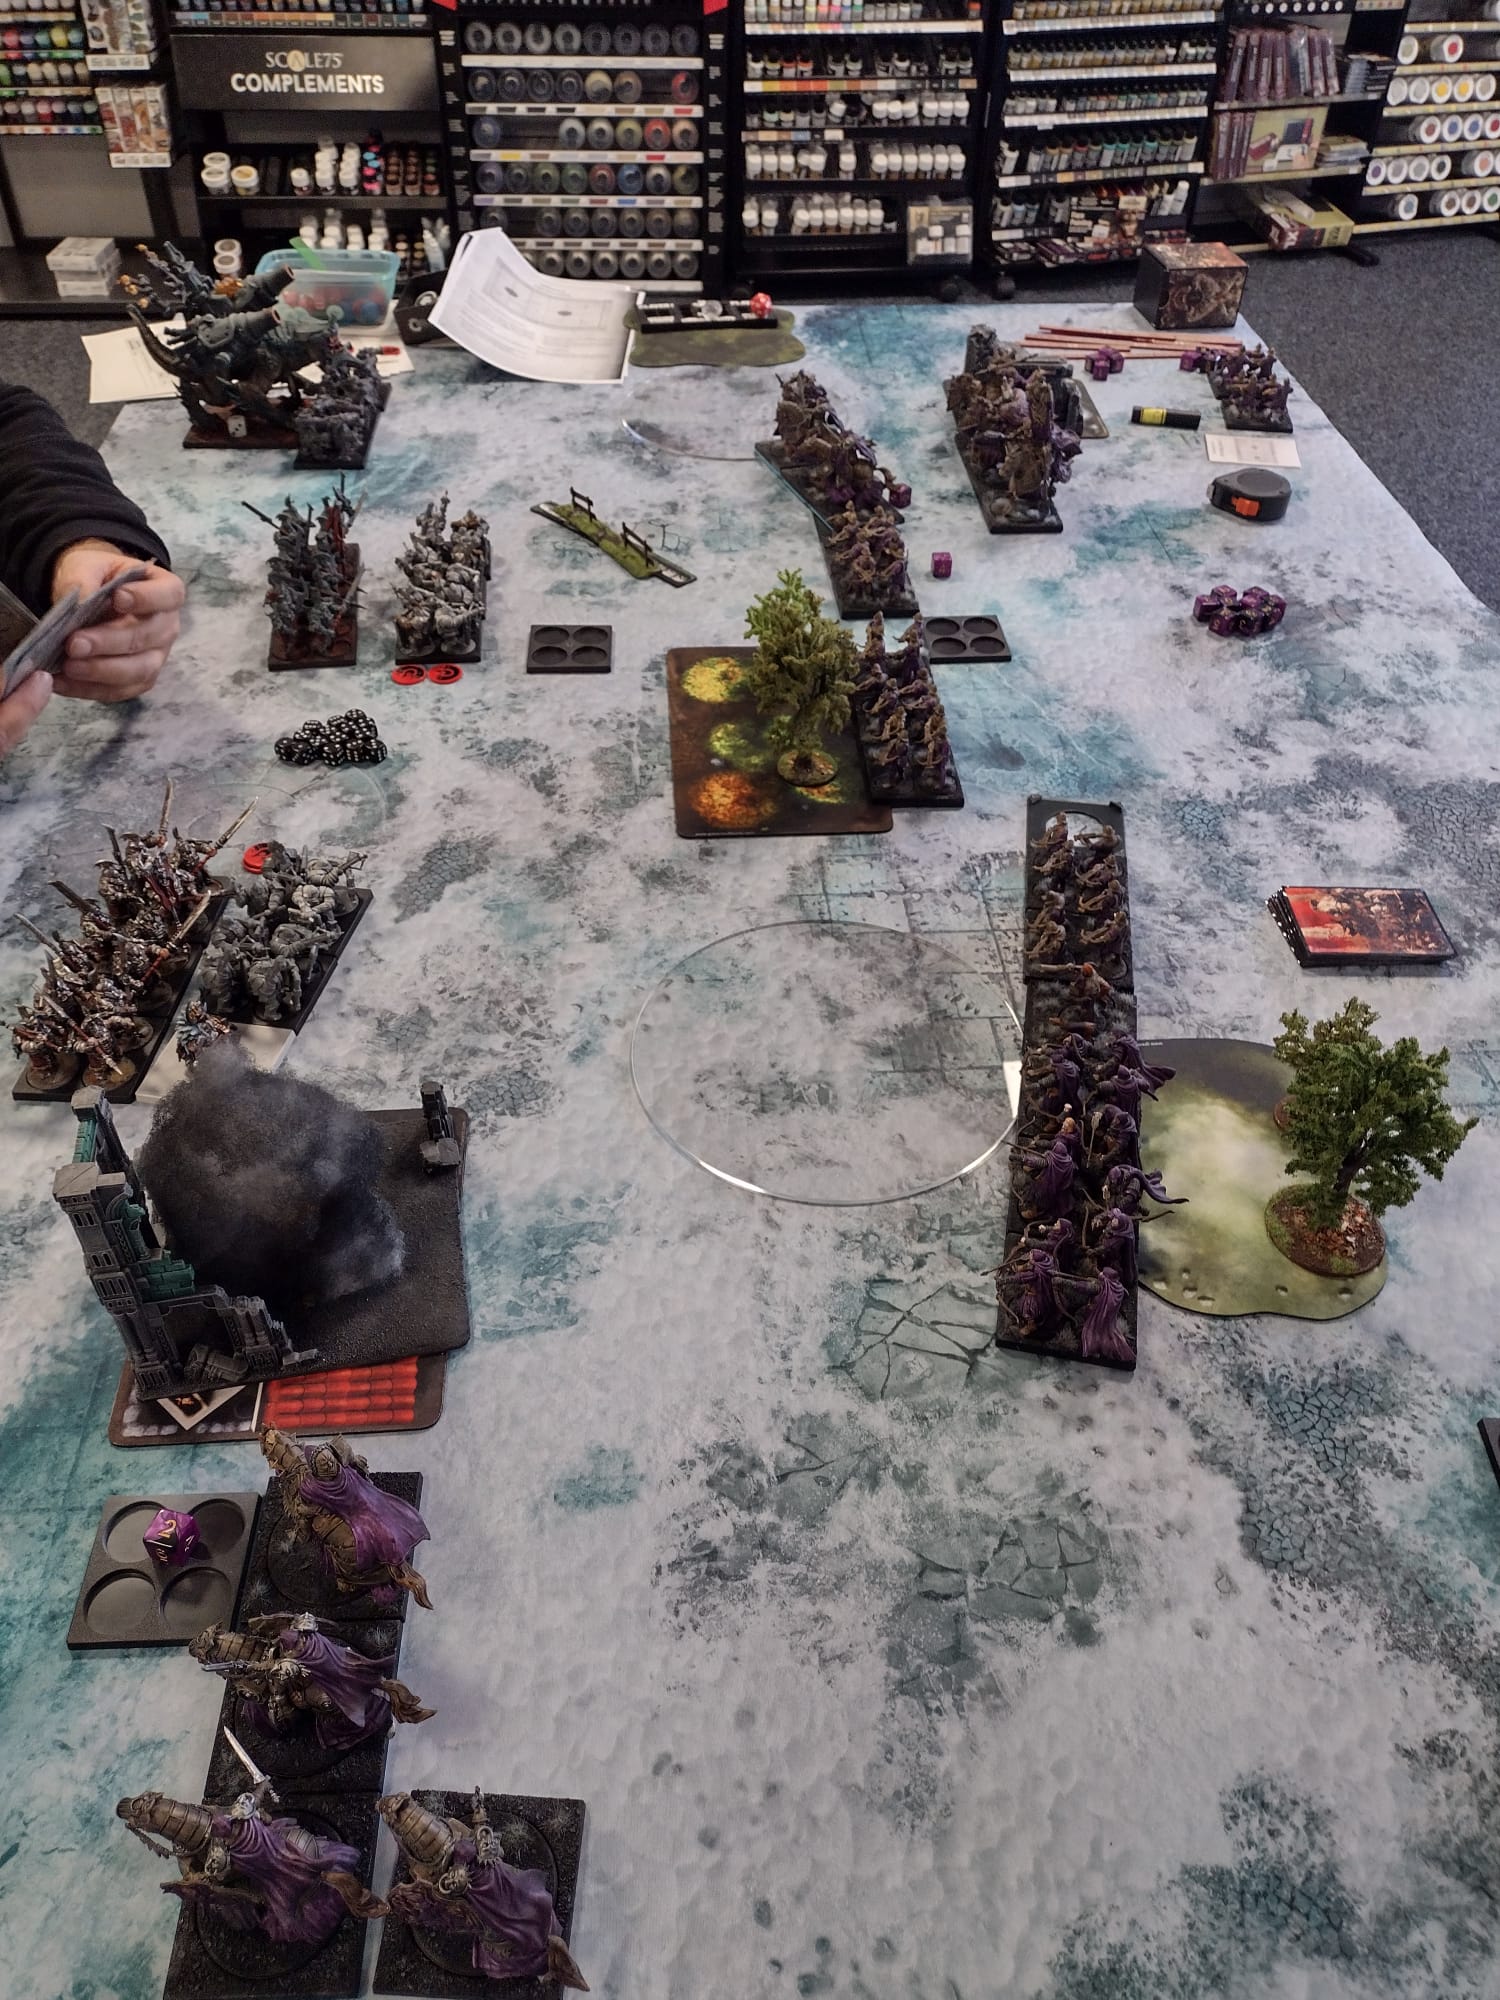
Round 1: Both of us had all Lights. I moved centrally, using the forest as cover. Jens positioned Raegh towards a Ballista, which headed towards the left zone. The others stayed in the middle.

Round 2: I got both Sealed Temples, and Jens only got the Drake for Dweghom. This pleased me. Thanks to the Rangers, my reinforcement line was far enough forward to reach both zones. One held the Rangers, where the Imperial Officer jumped in via Seek New Escort, and I could threaten the left objective. We shot a bit, and I lost two Crossbow stands, dealing only minor damage. The Drake on the right side was amusing, asking how far the Sealed Temples would come and then deciding to step back quite a bit. Somehow, he didn't fancy getting hit by a Move Charge, even though nothing significant would happen – maybe. 5:0
.jpeg)

Round 3: I got a unit of Ashen Dawn, and Jens got both Dragonslayers and Fireforged. Annoying. I had hoped for another round, so all shooters moved up, and fire at will. Unfortunately, Jens started, but I could focus on reducing the Raegh unit to 2 lives. In return, I suffered minimal damage, but enough for a Sealed Temple and a Crossbow stand to be put in the case. Since the Dragonslayers were in the middle and the Fireforged were in front of the dragons, I decided to place my first Ashen Dawn in the middle but in a way that I could run around the house and control the zone. The Dragonslayers would need at least one more round, and maybe I could delay him a bit. On the other side, the Commander with his knights made a nice 2 damage to a marker and pulled my reinforcement line absurdly far forward. 10:0
.jpeg)
Round 4: Our remaining units arrived, and I placed both Sealed Temples up, assuming I wouldn't go first, and that turned out to be the case. Jens' Raegh initially fled into the Dragonslayers, my right Sealed Temples left the zone and comfortably positioned themselves behind the objective in the forest, taking all the crossbow shots. This gave me enough time to destroy the left objective and move back so that the Fireforged couldn't shoot at me intentionally, minimizing the damage significantly. It benefited me that Jens blocked himself in the middle, making it difficult for the Dragonslayers to find a good position. However, the right Fireforged put a foot in the zone, and the Drake behind. I attempted a charge with the Ashen Dawn against the Fireforged, but four repeatable attacks are insane and didn't work. So, I only got one Ashen Dawn unit in the zone, at least denying it. 16:0

Round 5: So far, I was satisfied with the progress and considered how to proceed. I definitely had to push him out of the zone and block the other, so the deck build was Ashen Dawn, both Sealed Temples, all shooters, characters, Ashen Dawn. Going first would be good, but not crucial for me. For him, it made the difference between a dead activation because Fireforged would likely be on top, but my Supremacy should save the Ashen Dawn and was activated. I started, deleted the right Fireforged in the Charge Clash with Ashen Dawn, and on the other side, almost lost the entire unit of Sealed Temple with Commander. But only almost. This allowed them to move 16" and stand in front of the Dragonslayers, preventing them from reaching the left zone. Sacrifice yourselves for your queen, brave knights! And here come the Crossbows, standing next to them, so that the nasty Dweghom can't enter the zone in the next round. Meanwhile, his Ballista, the Drake, and the magician's spells fired at the Ashen Dawn with Hardened, melting them down to 2 stands because 6 lives are just powerful. As a result, I had both zones again, dealt one damage to the middle objective, and was allowed to bring a unit of Sealed Temple or the two riders hiding in the forest with Move Charge into the Dweghom's backfield. There, with the impacts, they wiped out the two lives of one Ballista stand, and I went to 21:2
.jpeg)

Round 6: The Fireforged on the left were out of the game due to the distance, and overall, it looked pretty good, if not for two fresh Dragonslayer regiments. I built as if I wouldn't start and wrote off the first Ashen Dawn but wanted to send the others directly into the Dragonslayers, maybe still holding the zone or at least denying it. Instead, I started, and the Drake was half beaten, and then I lost the Ashen Dawn in the counterattack of the Dragonslayers. In other words, the Dragonslayers were not in the zone, and the Drake preferred to aim, shoot, and cast on the second Ashen Dawn, so I owned the zone. I could cope if I slowly ran out of Ashen Dawn.
In the middle, or more behind his line, the Sealed Temples turned and made a Charge Clash for extra fun into the flank of the last Holdt Ballista. They held it effortlessly, and I was somewhat disappointed. When they turned around and killed four knights for me. Well, it went better than expected, so I settled for the thought that I had at least tied them up. More importantly, the Dragonslayers on the left were broken down by two stands of Crossbows and the Rangers. Well, if I'm honest, one stand was already down to one life, but Rangers! I keep saying they're bad, but they work when they're afraid of being kicked out of my lists. Every time. So, Jens had to collect them, and he could only make one charge against the Crossbows. Nicely outside the zone 26:2

Round 7: I quickly grabbed the objective and briefly calculated the points Jens could realistically score. Not enough, as the rear marker was unreachable for him. Normally, I would concede at this point and shake hands with my opponent, but the tiebreaker was total scenario points, so I pressed the gas pedal again. The Rangers simply shot the Dragonslayers, allowing me to score points boldly and the remnants of my army denied the Dweghom from scoring and died heroically. Victory.

Keine Kommentare:
Kommentar veröffentlichen